Notice: Function _load_textdomain_just_in_time was called incorrectly. Translation loading for the redux-framework domain was triggered too early. This is usually an indicator for some code in the plugin or theme running too early. Translations should be loaded at the init action or later. Please see Debugging in WordPress for more information. (This message was added in version 6.7.0.) in /var/www/aiana_website/wp-includes/functions.php on line 6121

Notice: Function _load_textdomain_just_in_time was called incorrectly. Translation loading for the copygen domain was triggered too early. This is usually an indicator for some code in the plugin or theme running too early. Translations should be loaded at the init action or later. Please see Debugging in WordPress for more information. (This message was added in version 6.7.0.) in /var/www/aiana_website/wp-includes/functions.php on line 6121
How To – Aiana

How to Use Aiana - Step by Step Guide

Here’s a simple, step-by-step guide to help you get started with Aiana and improve your customer support experience.

Step 1: Create Your Account

The first step to using Aiana is creating an account. This process is simple and only takes a minute. Start by visiting our Login Portal and clicking on the “Sign Up” button.

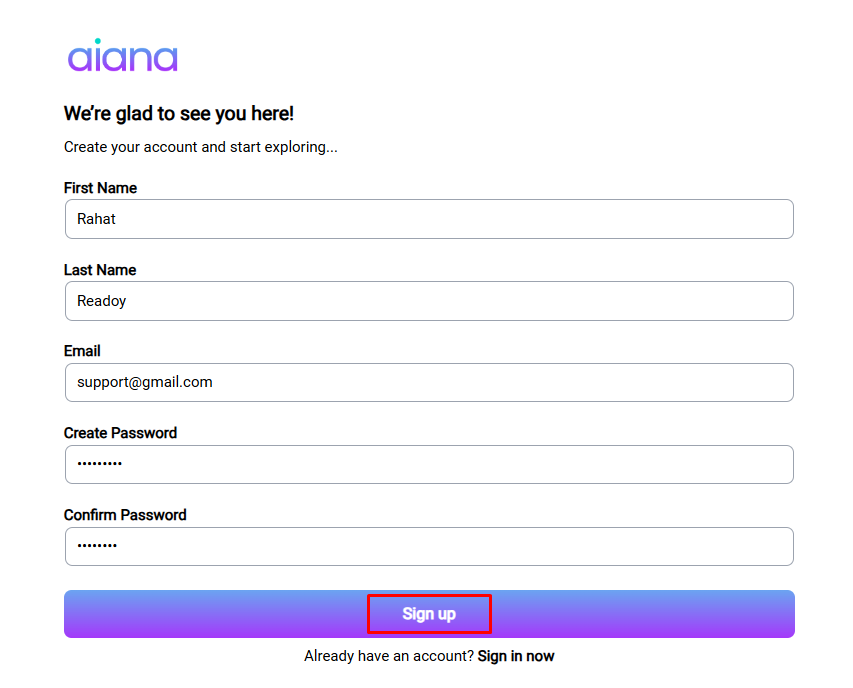
You’ll need to enter your first name, last name, email address, and create a password. After filling in these details, click “Sign Up” to complete the registration.

If you already have an account, simply click “Login. Enter your registered email or username, followed by your password, and hit the “Login” button.

You’ll be directed to your dashboard, ready to start setting up your chatbot.

Step 2: Set Up Your Account Details

Once you’ve logged in, it’s time to fill in your account details. Navigate to the “My Account” tab where you’ll see fields to enter your company’s information. This includes your company name, website URL, country, and address.

You’ll also need to provide your first and last name, your role in the company, preferred language, and email address.

Make sure to fill in all the required fields accurately, as this information helps personalize your chatbot experience. After entering the details, click on “Save Changes” to store your information.

Step 3: Create Your Knowledge Base

The knowledge base is the core of your chatbot, where all the information it will use to assist your customers is stored. To create a knowledge base, go to the “Knowledge Base” tab and click on “Create Knowledge Base”.

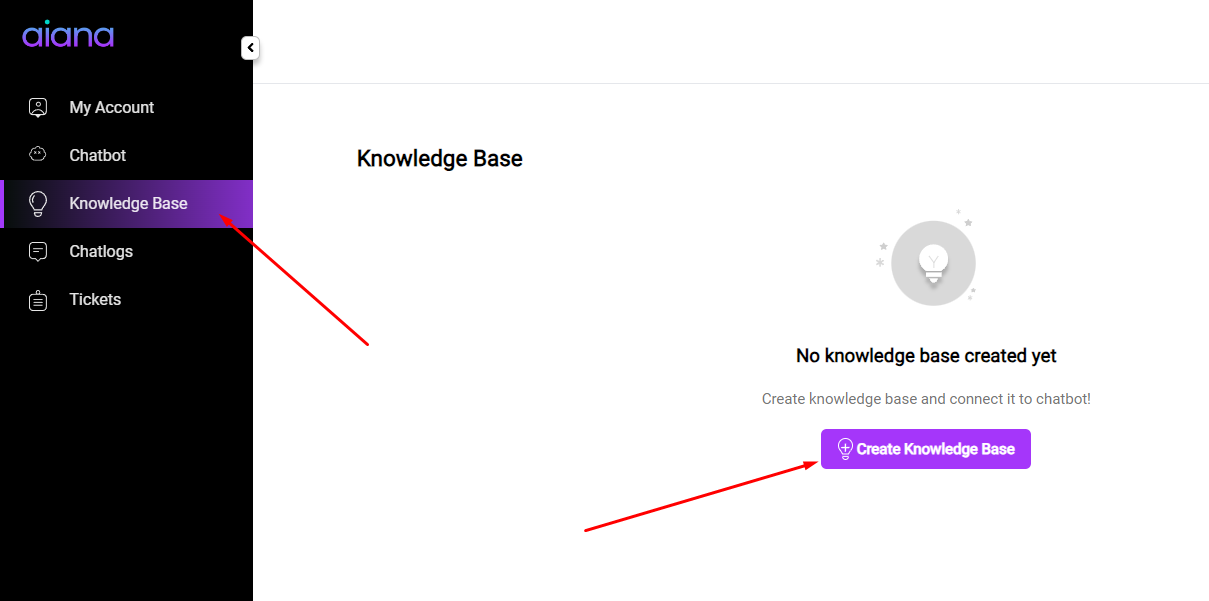
Start by giving your knowledge base a name that reflects the type of information it will contain or any name you want.
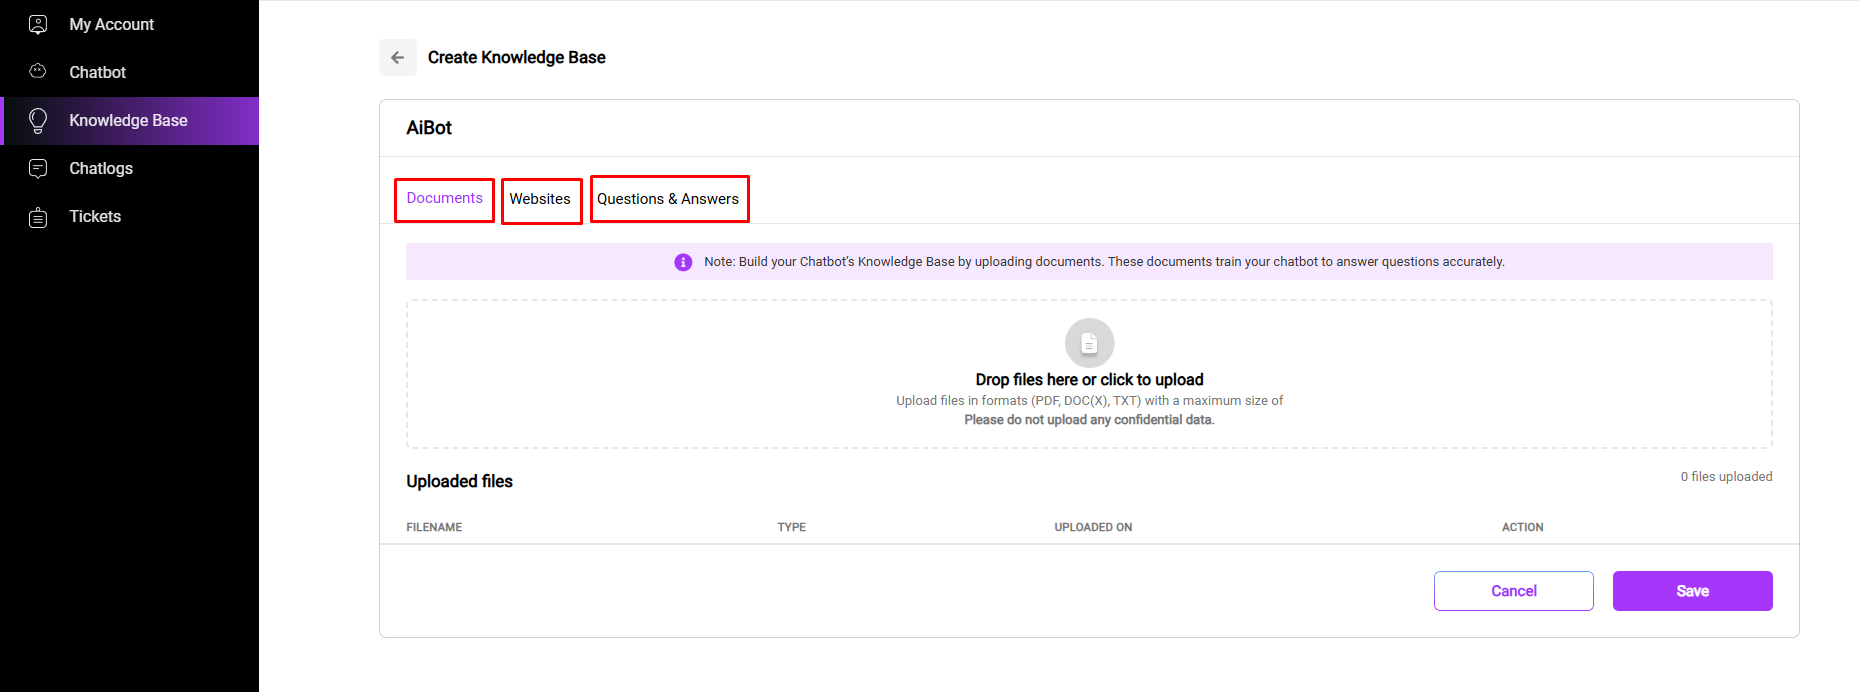
Next, you’ll find 3 options below to add information to your chatbot’s knowledge base.

Option A:

Start by improving your chatbot’s knowledge base with key documents. So, click on the “Documents” tab. You can either drag and drop your PDF, TXT, or DOC(X) files into the designated area, or click to upload them from your computer.

This step stores important documents that your chatbot will use to help customers.

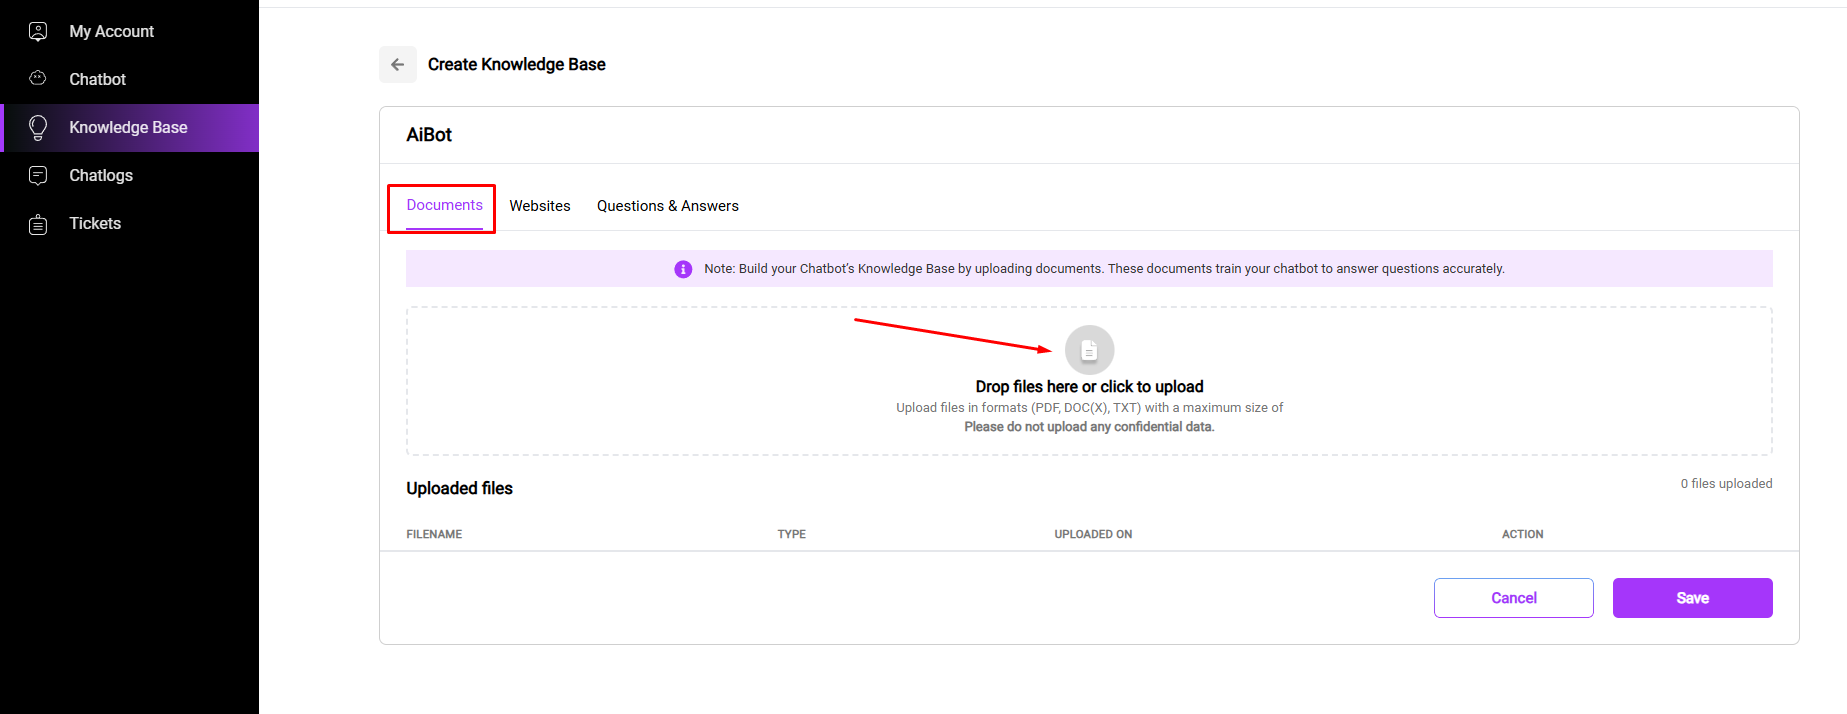
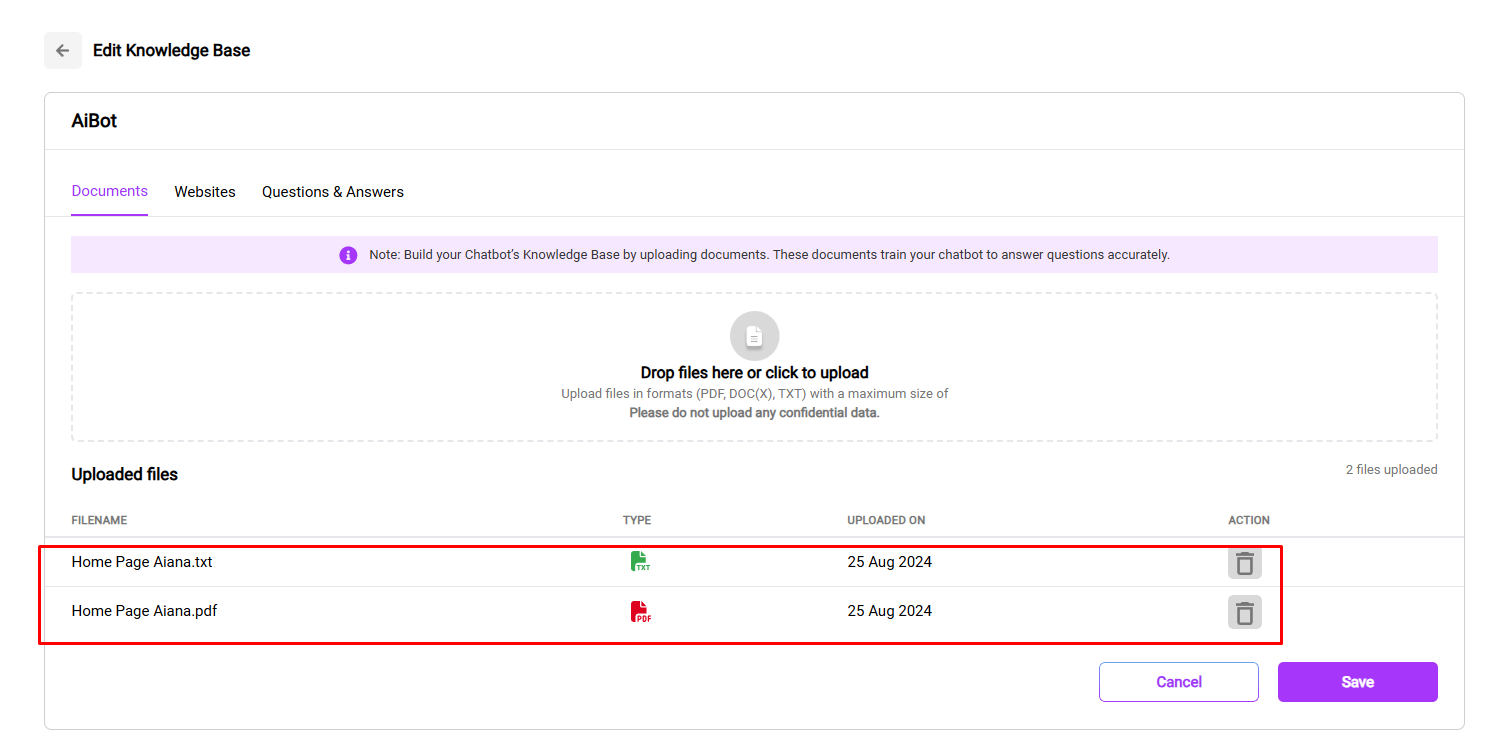
You’ll see your uploaded file displayed here, and you can add as many documents as needed. Just ensure each file is under 5MB.

Option B:

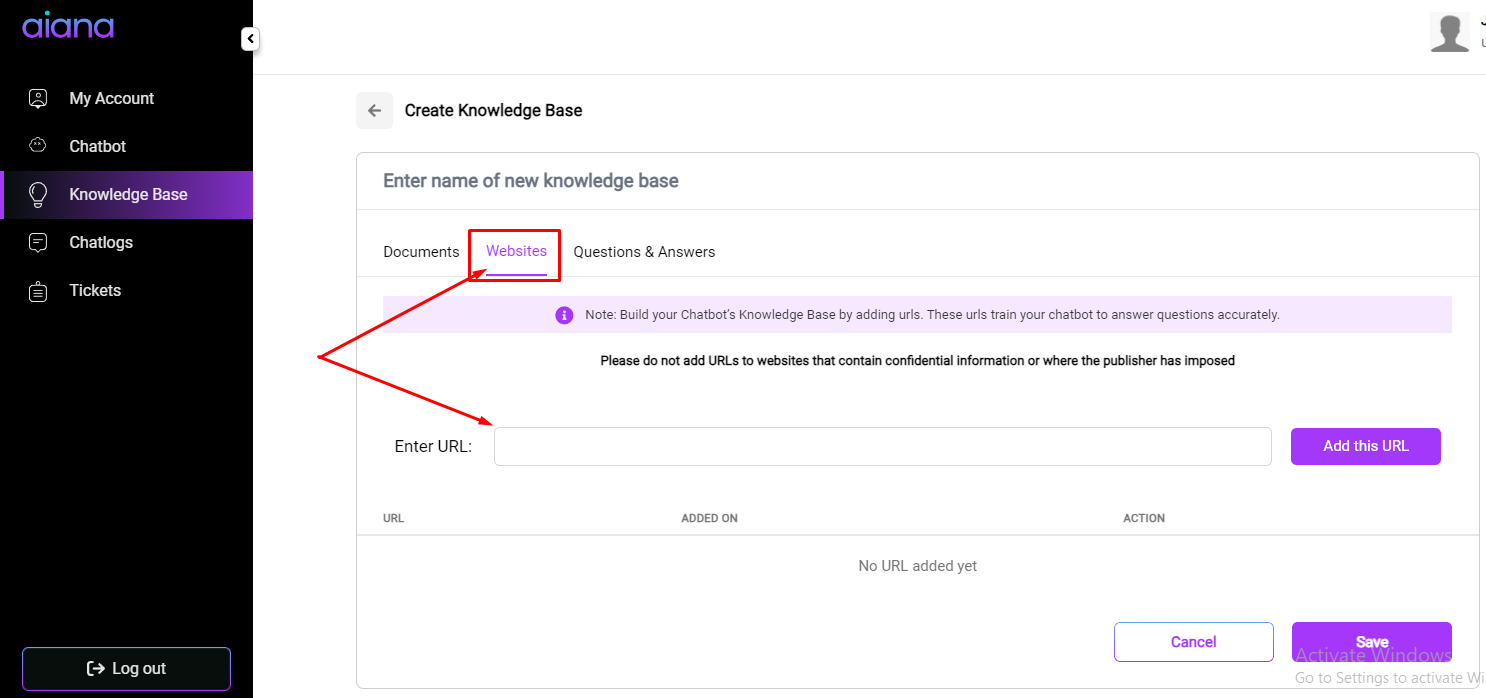
If you want to add a website URL, go to the “Website” tab. In the box, simply enter the URL of the site you want to pull information or knowledge from. The chatbot will pull data from these sources to answer customer inquiries.
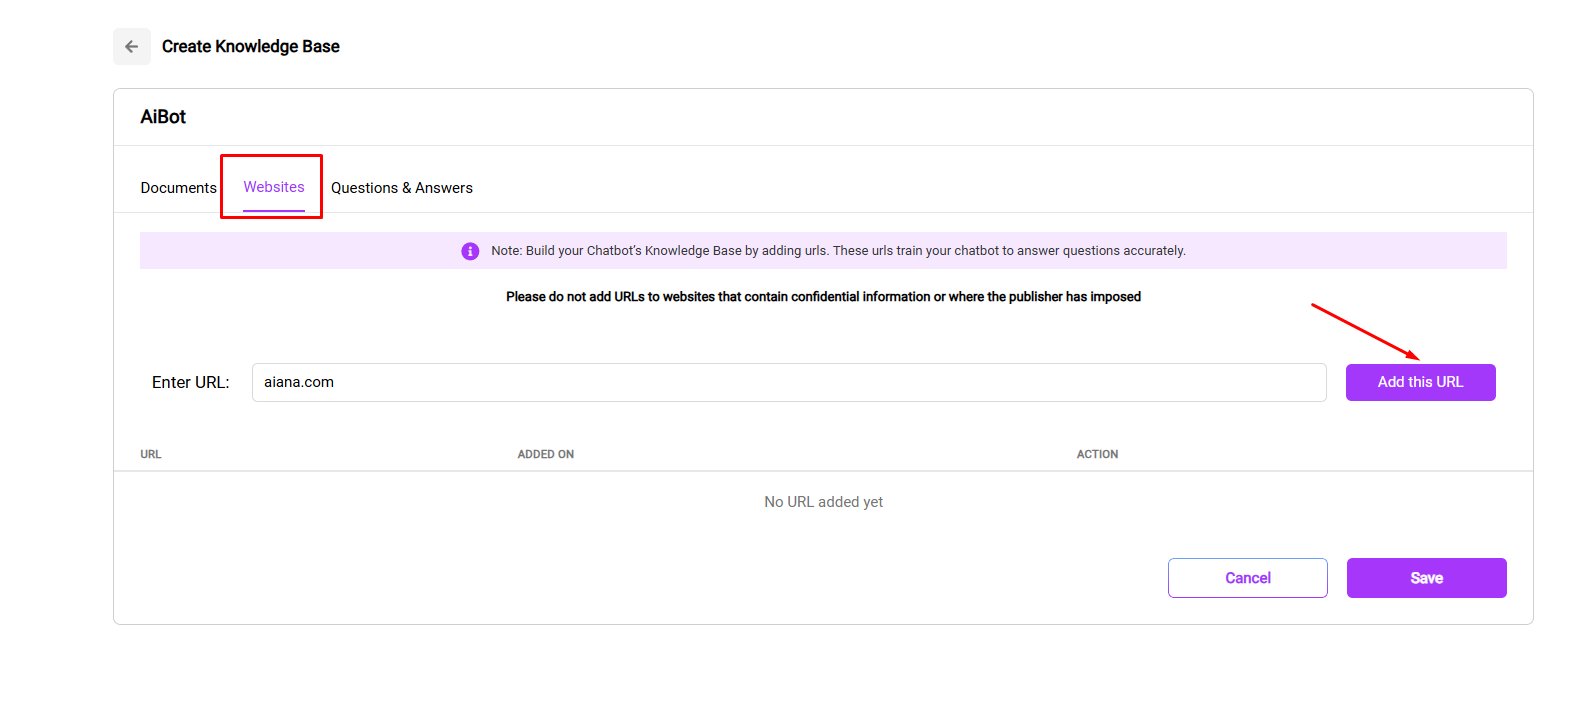
As shown in the image here add the website URL.
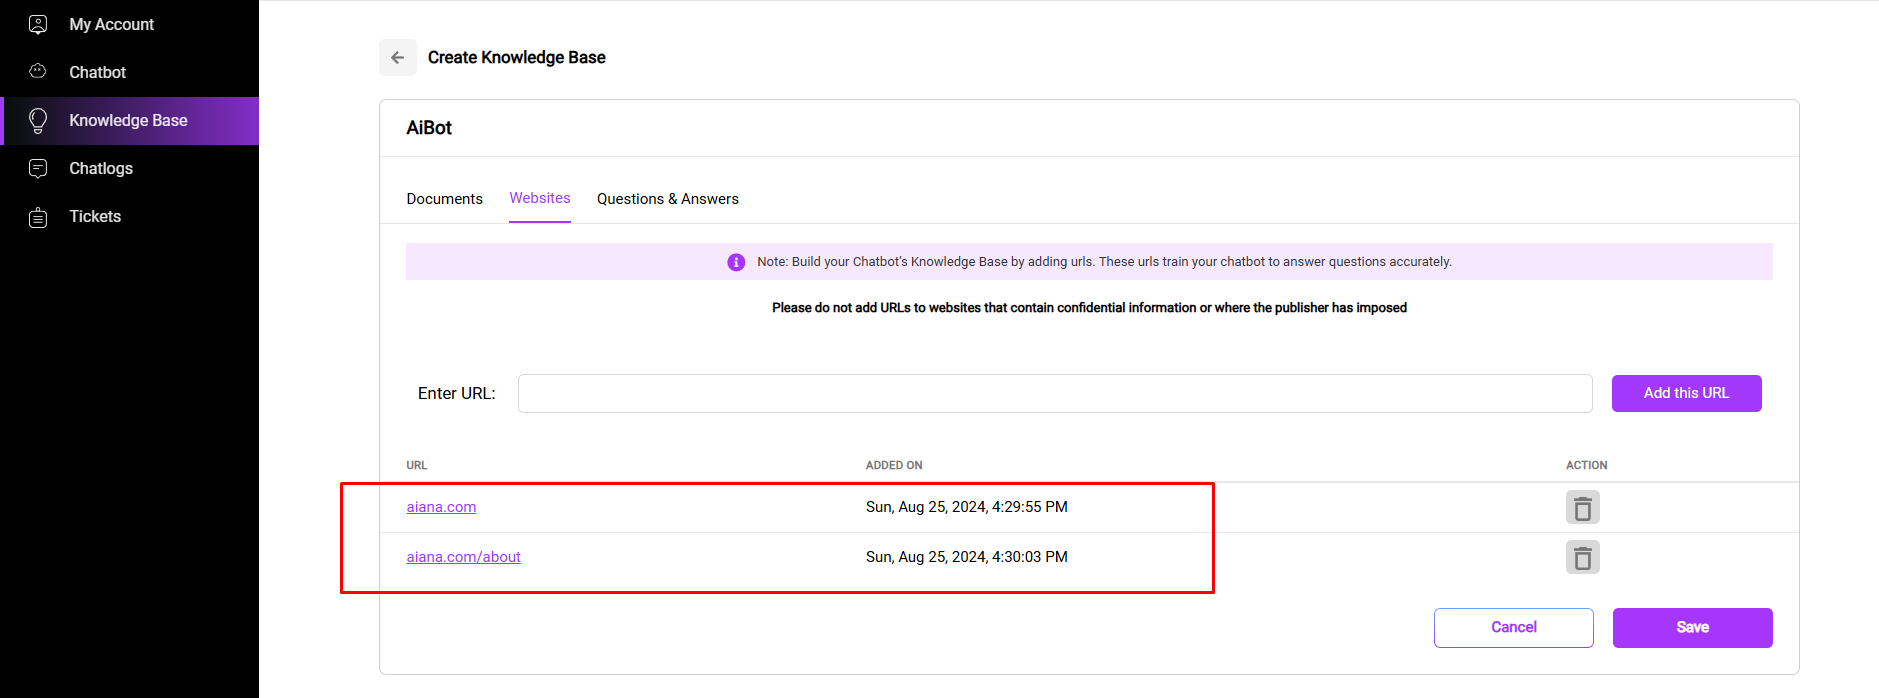
Once you’ve added a URL, it will appear here, as shown in the image below. You can add as many URLs as you want.

Option C:

If there are specific questions you frequently receive, you can input these along with their answers. So, for the third option, go to the “Questions & Answers” tab. You can add FAQs and answers here. Just click the “+Add” button to add as many as you like.

This ensures your chatbot can provide quick and accurate responses.

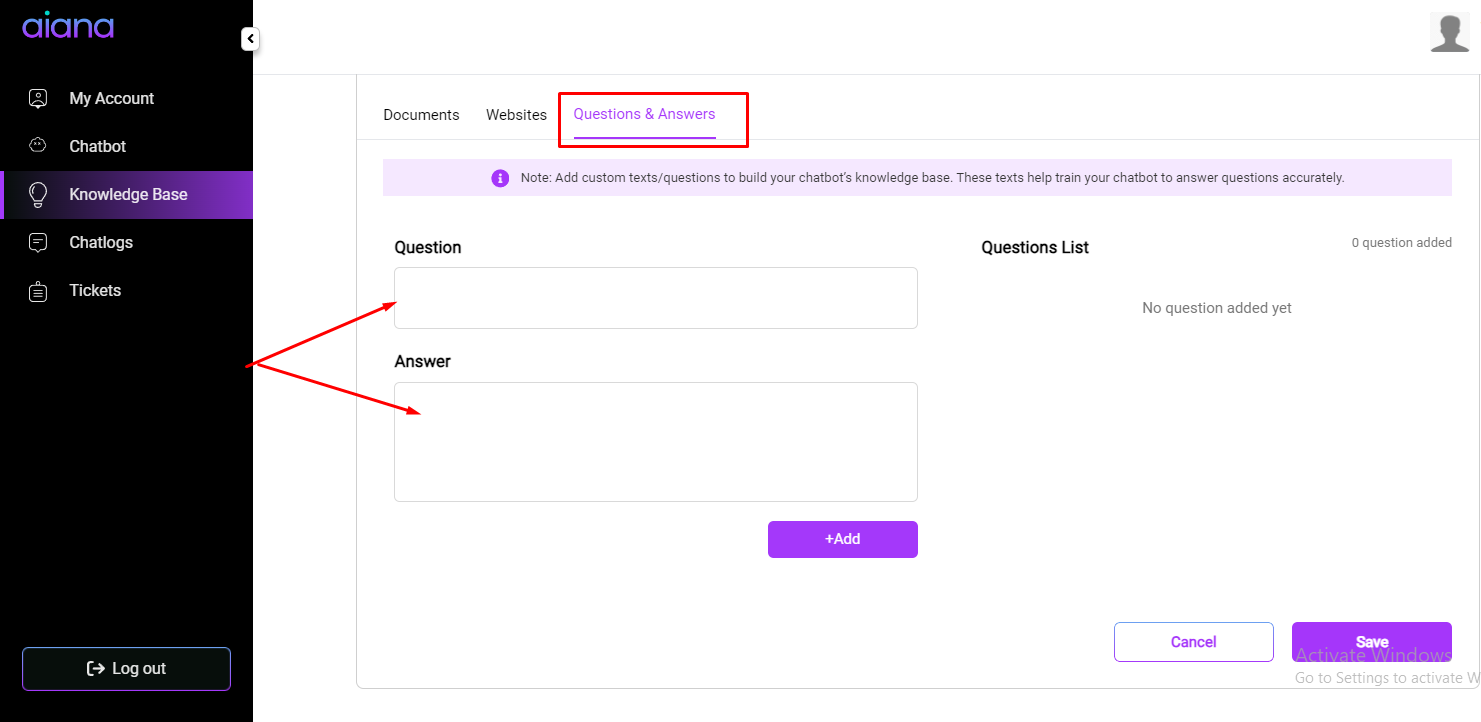
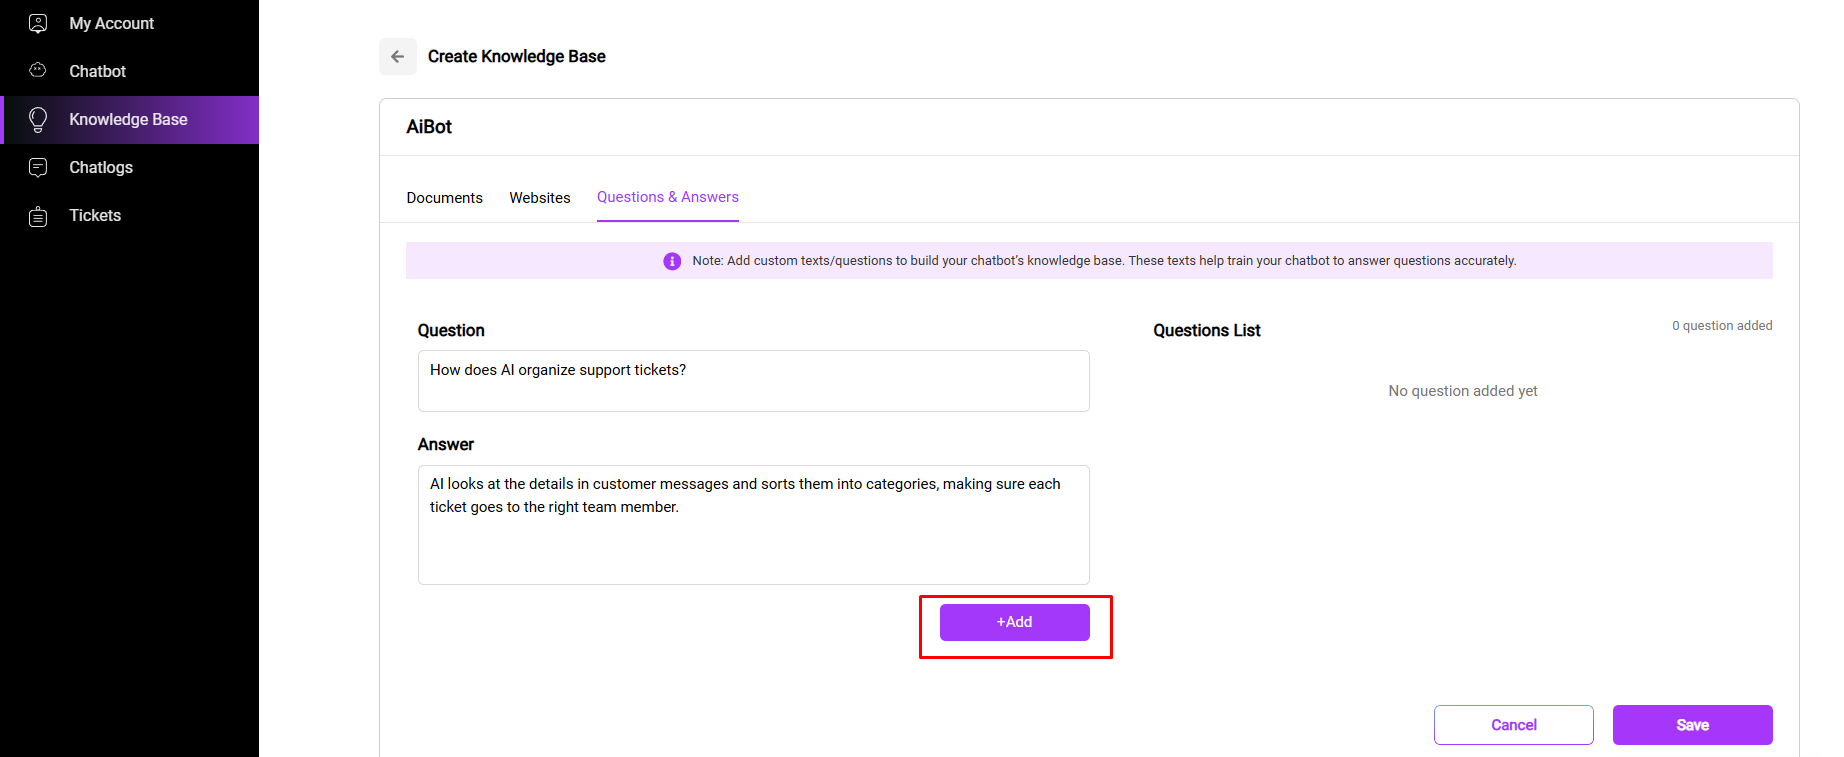
You can see in the image below that we’ve added a question and the answer.
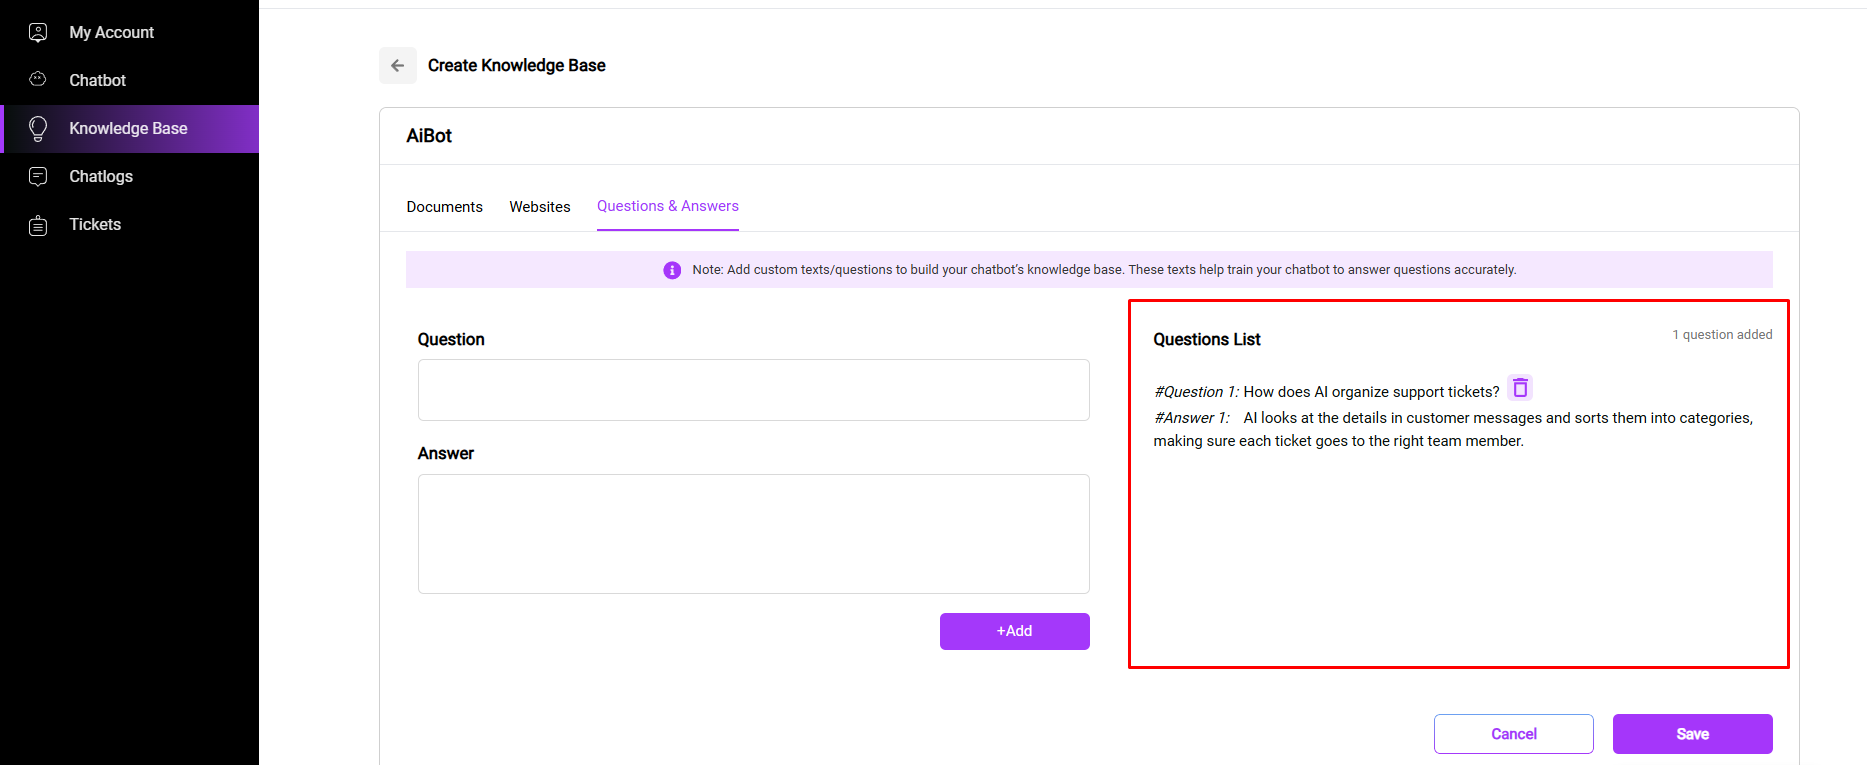
After you add your FAQs, you’ll see them listed here, just like in the image shown.
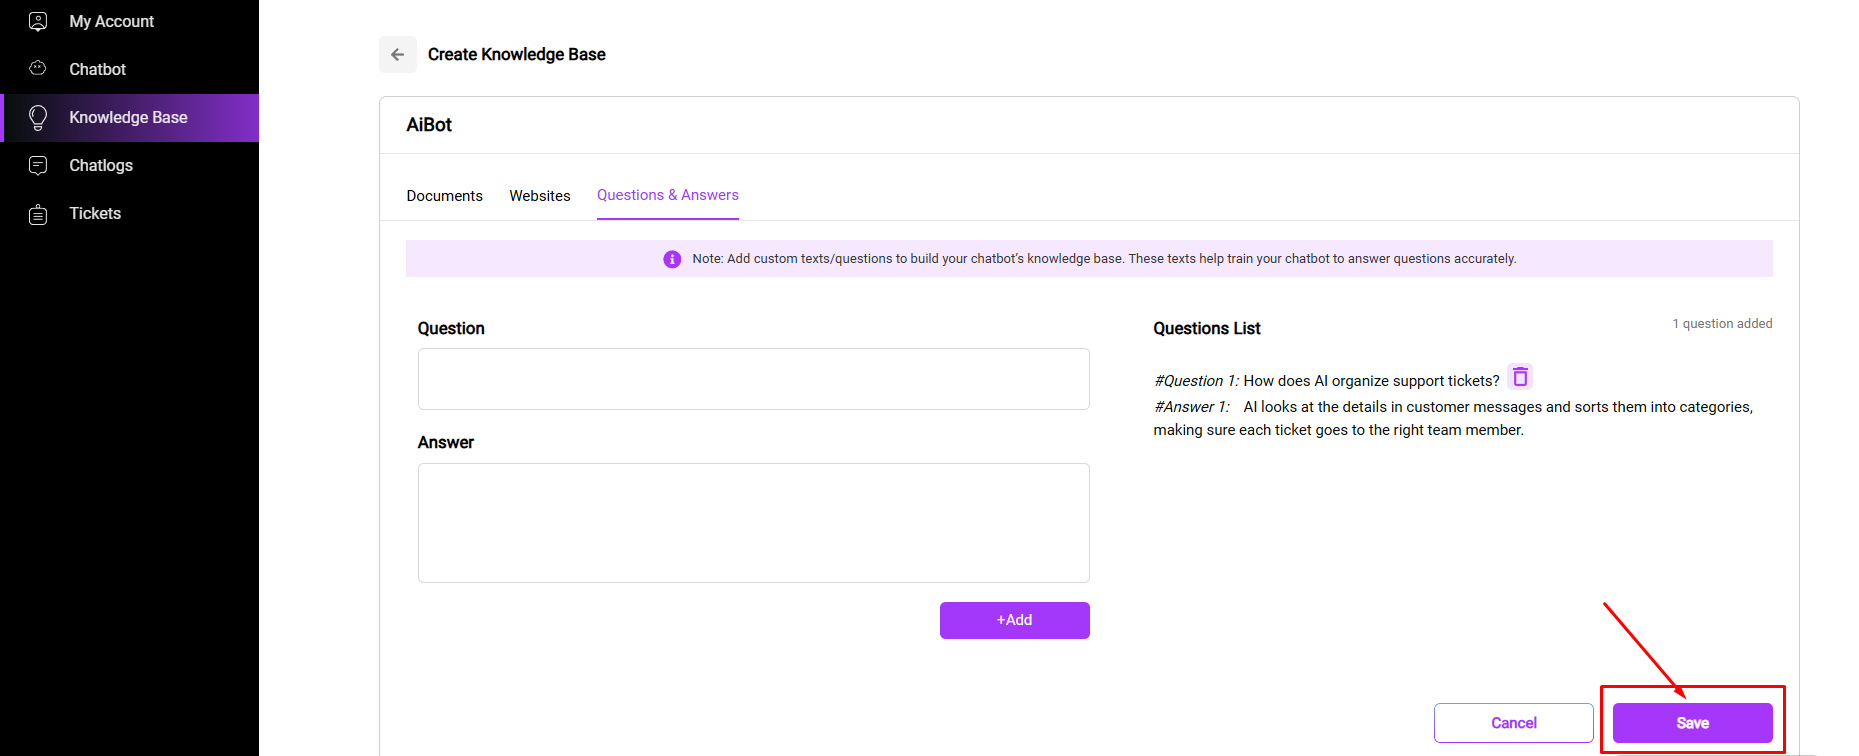
Once you’ve added all the necessary information, click “Save” to finalize your knowledge base.

Step 4: Set Up Your Chatbot

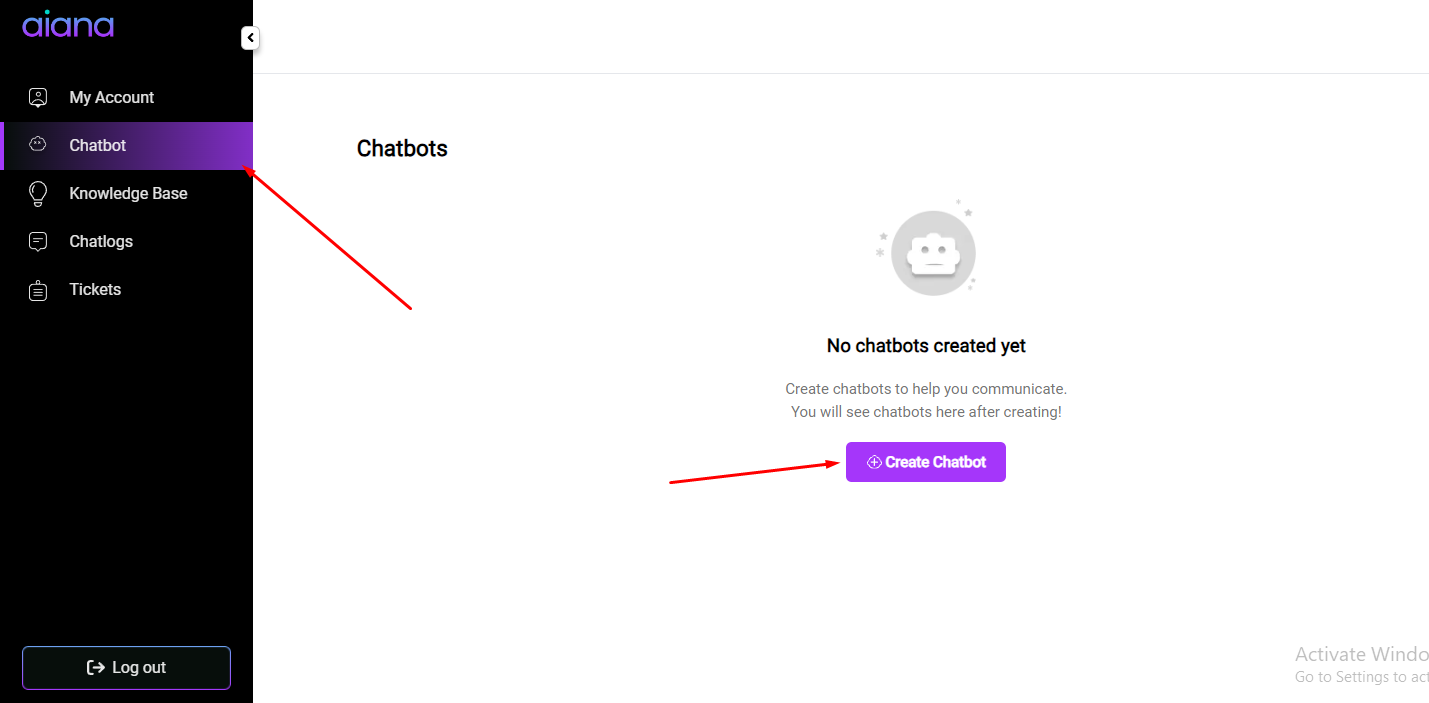
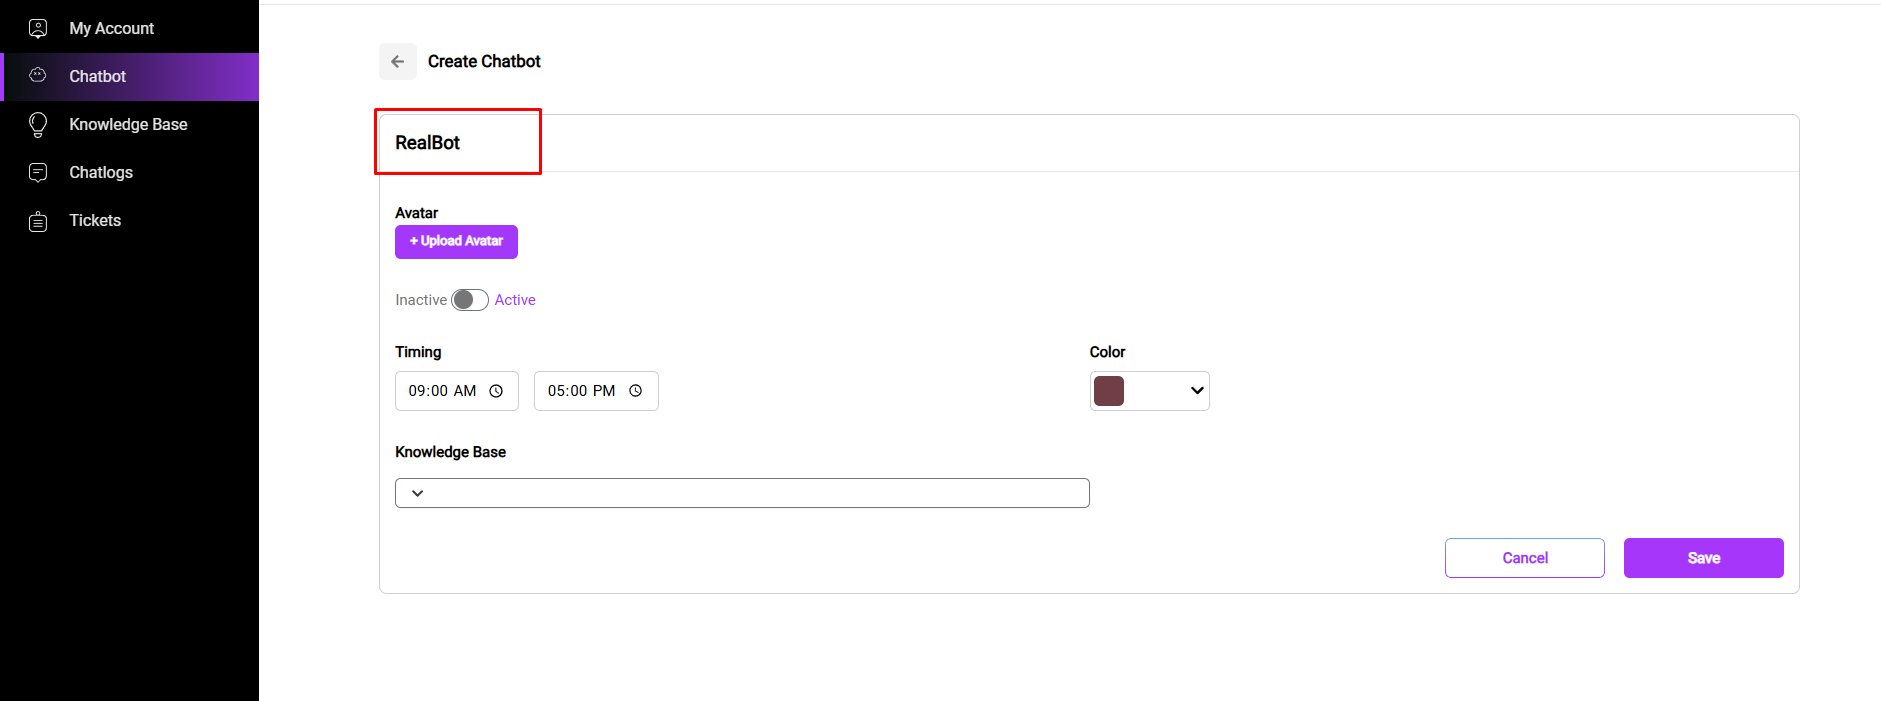
With your knowledge base ready, the next step is to create your chatbot. Go to the “Chatbot” tab and click on “Create Chatbot”.
First, start by naming your chatbot. Here, you can choose any suitable name you want like here we gave “RealBot”.
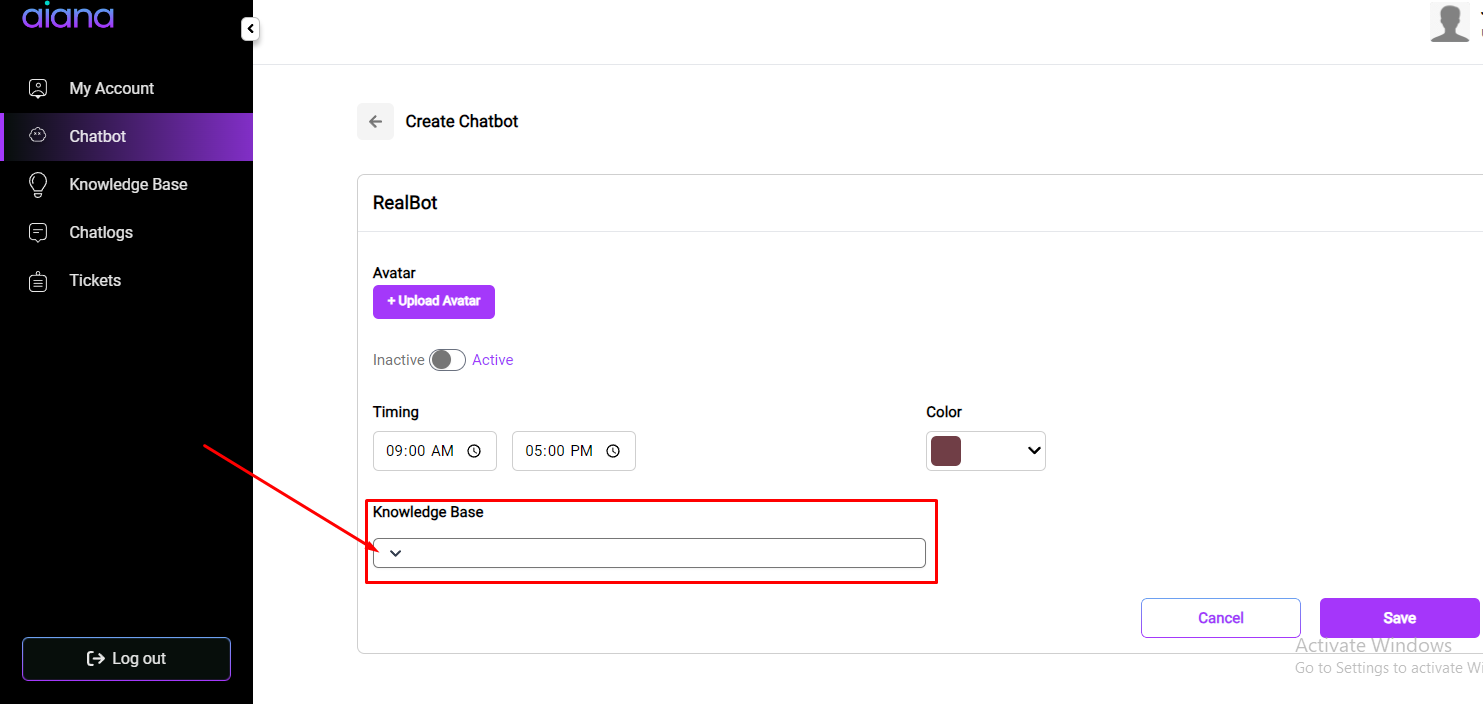
Next, select the knowledge base you previously created from the dropdown menu by clicking on “Knowledge Base”.
As you can see, we previously created a knowledge base named AiBot. Now, we’ve selected it for use. You can choose any knowledge base you’ve created from this menu.
After that you need to upload an avatar for your chatbot. So click on “Upload Avatar” and then upload your desired avatar for your chatbot.

Here, you can see that we’ve added our avatar, as shown in the screenshot. Next, you’ll need to activate your chatbot by switching the toggle from inactive to active.

If you’d like, you can also set specific hours for the chatbot to be active, or leave it on 24/7 by default.

Additionally, you can personalize your chatbot’s appearance by selecting your preferred color from the dropdown menu.

Once you’ve finished all your customizations, simply click the “Save” button to finalize everything.

Step 5: Test Your Chatbot

Before launching your chatbot, it’s crucial to test it to make sure everything works smoothly.

To do this, go back to the “Chatbot” tab and find the chatbot you created. In our example, we named it “RealBot,” as shown in the image.

Click on the chat icon next to your chatbot to start testing.

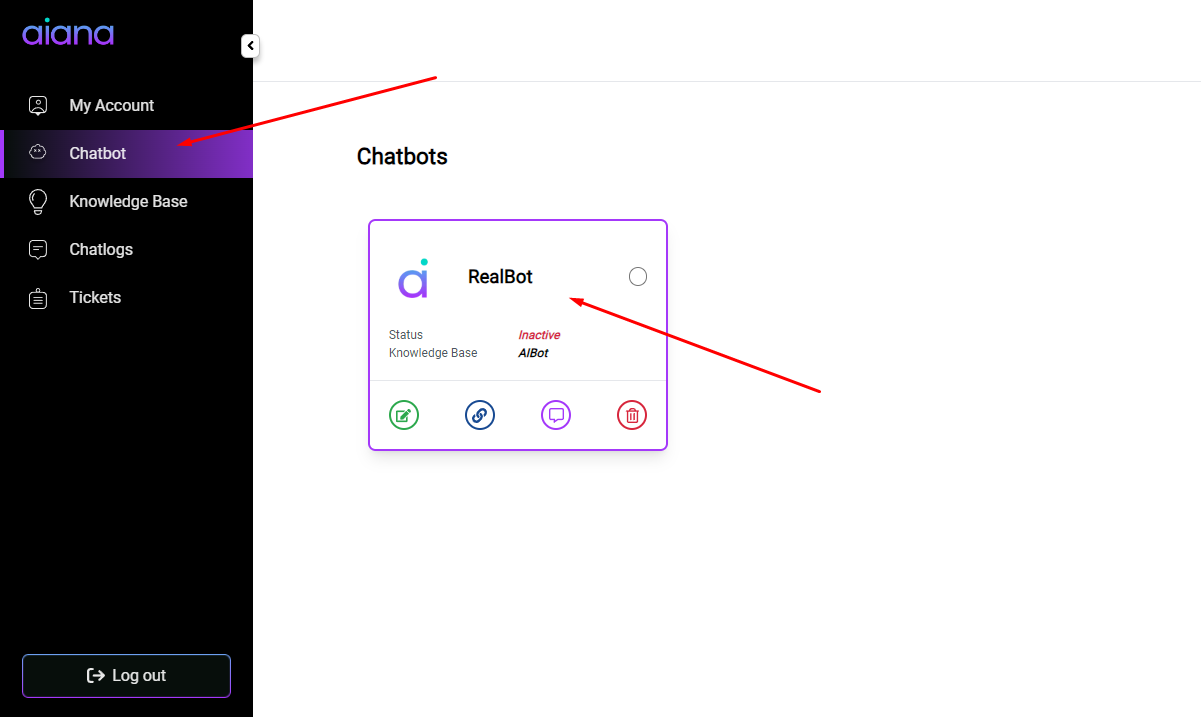
After clicking on it, your created chatbot will appear like this. Here, you can check if your avatar is displayed correctly and if the chosen color is showing as intended.
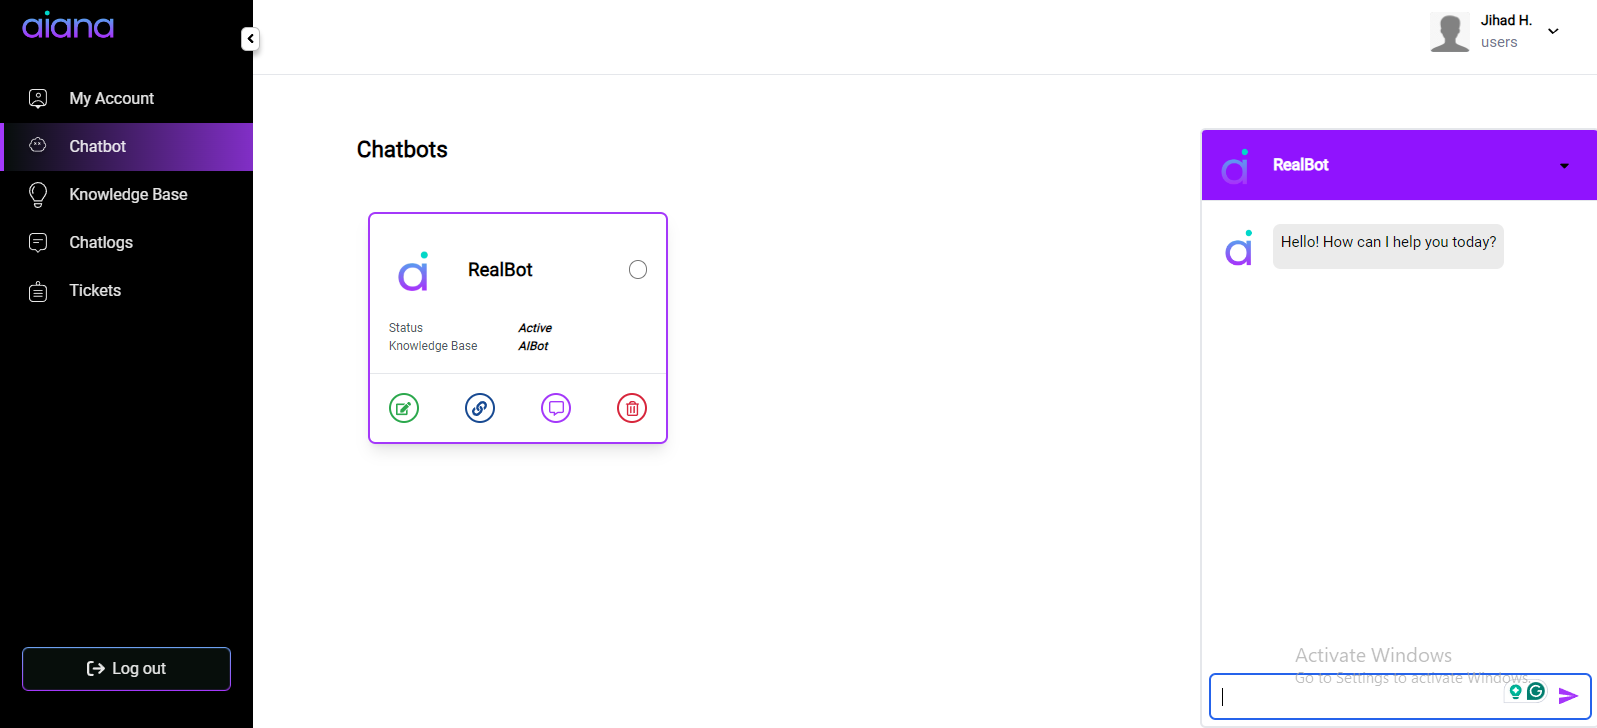
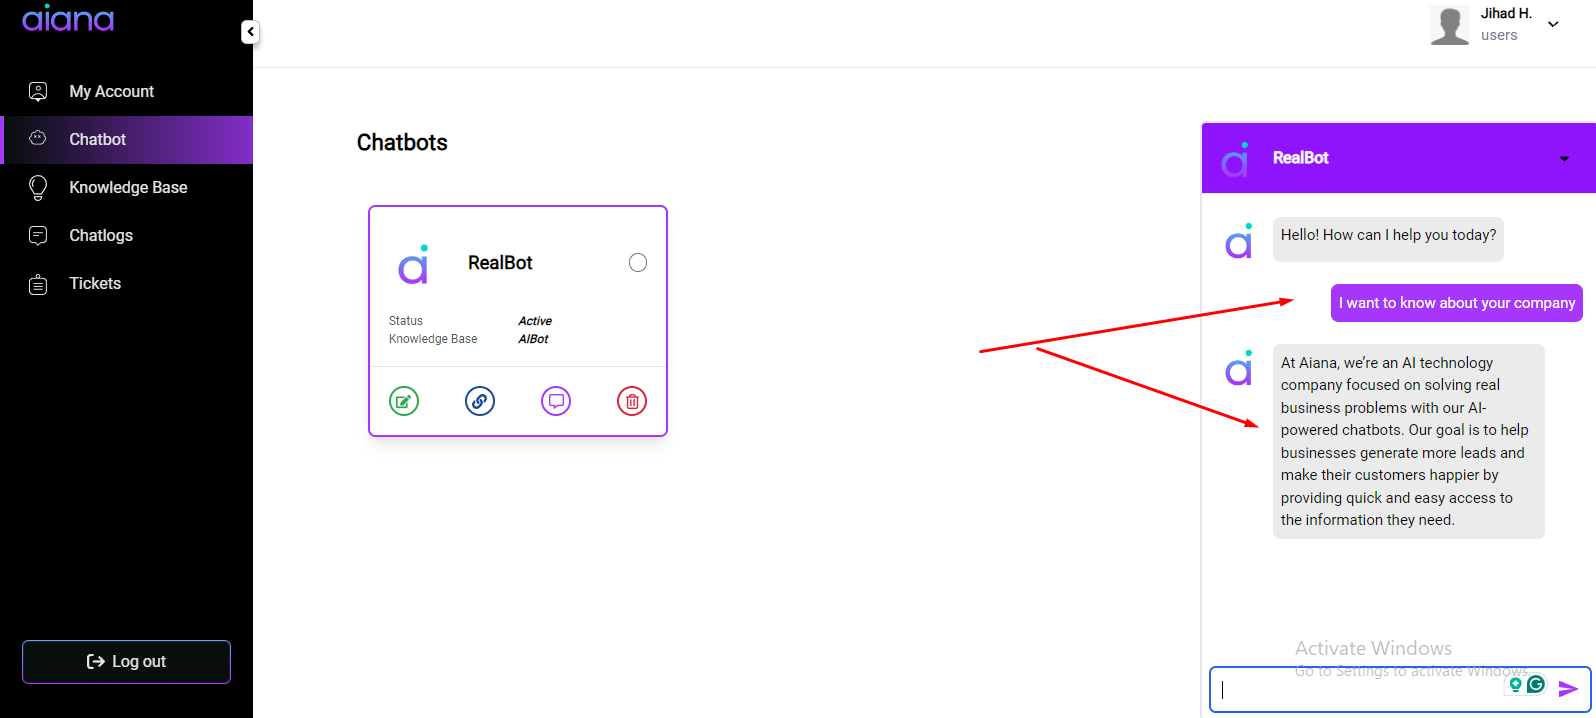
To check if it works properly or not, you can ask questions. Test the chatbot by asking questions related to the information you added in the knowledge base. This will help you verify that it provides accurate and helpful responses.
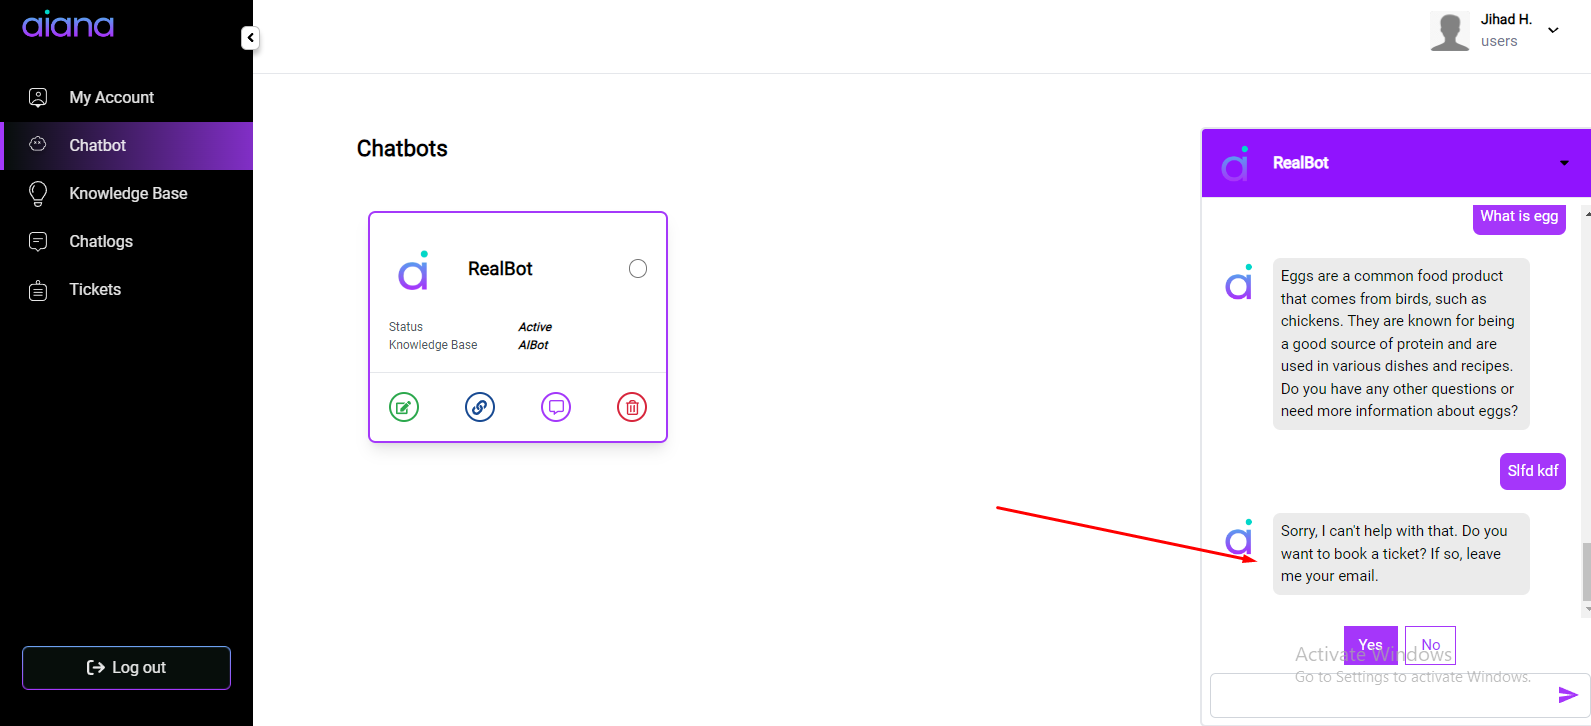
If you ask something that isn’t included in the knowledge base, the AI chatbot will offer to create a ticket, it will ask you if you want to book a token or not! You can test your created chatbot in any way you prefer.

Step 6: Publish on Your Website

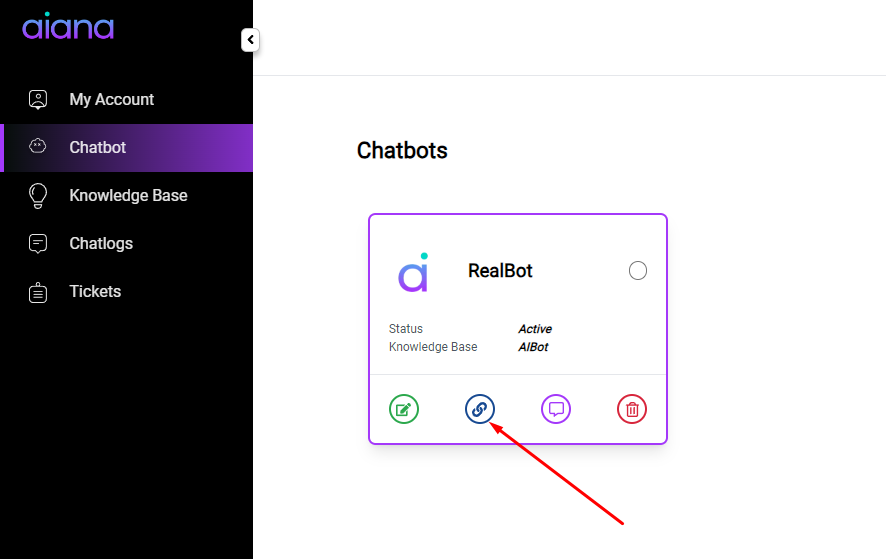
The final step is to publish your chatbot on your website. So, when you’re done testing, click the marked icon to add the chatbot to your website.
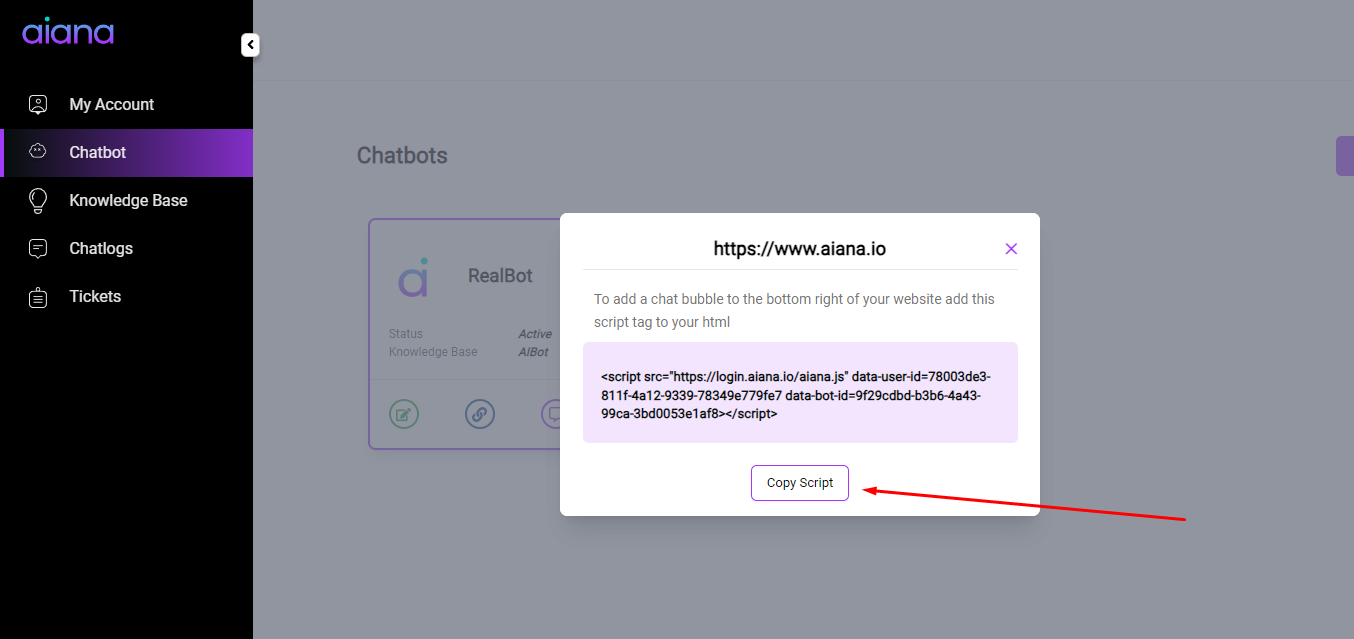
After that, click on the “Copy Script” button.
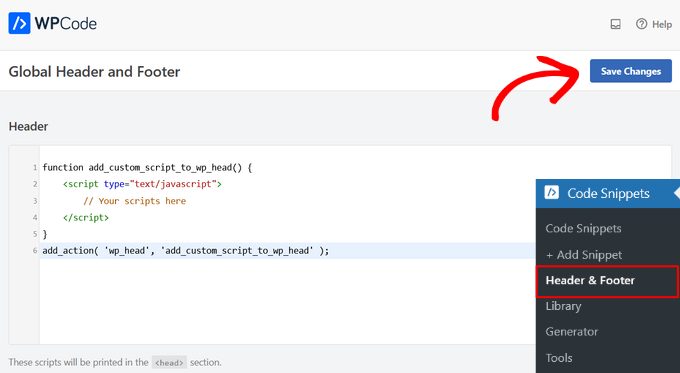
Paste the script into the header section of your website’s code. Aiana is compatible with all CMS platforms, including WordPress, Shopify, Wix, etc.

And that’s it! Your AI-powered chatbot is now live on your website, ready to assist your customers.

Setting up Aiana is a simple process that can greatly improve your customer support. By following these steps, you’ll have a fully operational AI chatbot providing 24/7 assistance to your website visitors.

Whether you’re aiming to boost customer satisfaction, enhance engagement, or streamline your support, Aiana is designed to help you achieve these goals.

Take a moment to set up your chatbot properly, and you’ll soon reap the benefits. Enjoy the confidence that comes with knowing your customers are always taken care of, no matter the time of day.

Table of Contents

Denounce with righteous indignation and dislike men who are beguiled and demoralized by the charms pleasure moment so blinded desire that they cannot foresee the pain and trouble.